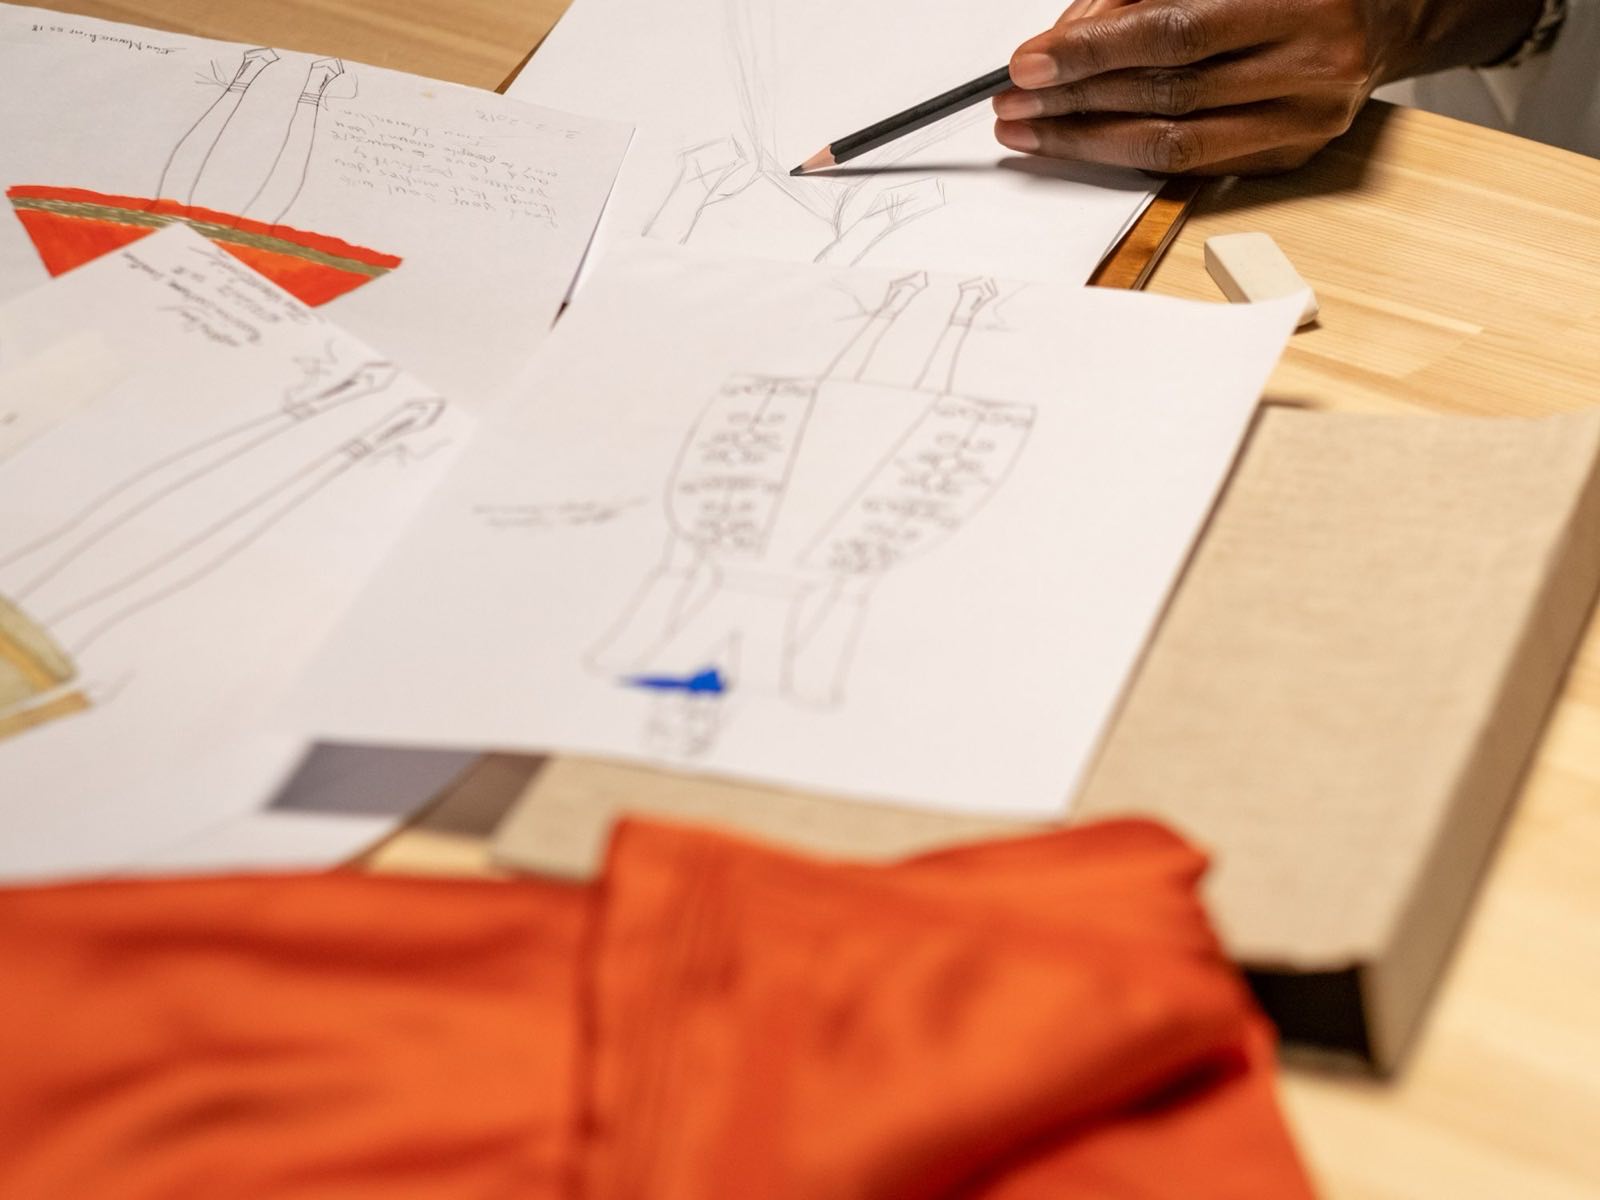
Almost every sampling disaster we have seen traces back to the same root cause: the factory made a reasonable assumption about something the tech pack did not specify. Not sabotage, not incompetence, a gap. Where your document is silent, someone in the sample room decides for you, and they will decide in favour of whatever is easiest to sew.
So the goal is not a beautiful tech pack. The goal is a tech pack with no silences.
1. The technical sketch
Flat, proportional, black-and-white line drawings: front, back, and a detail view for anything unusual. Not a fashion illustration, and not a mood photograph. The sketch answers “what shape is this and where do the seams go?”
Call out every seam, every topstitch line, every closure. If a topstitch is 6 mm double-needle in a contrast thread, that belongs on the drawing with a leader line, not buried in a comments column three tabs away.
2. The measurement chart
This is the section that decides whether your sample fits. It needs three things:
- Points of measure named unambiguously. “Chest 2.5 cm below armhole, laid flat” beats “chest”.
- Your base size clearly marked, with the full graded range.
- Tolerances per point. Without them, the factory applies its own, and yours are probably tighter.
Two mistakes cost the most time. The first is a chart that contradicts itself, a body width and a total garment width that cannot both be true. The second is grading that jumps inconsistently between sizes, which produces a size set where the middle sizes fit and the ends do not.
If we can only have one page of your tech pack, we want the measurement chart. Everything else can be rebuilt from a conversation.
3. Bill of materials
Every component, with a specification precise enough to buy against:
- Fabric: composition, construction, weight in GSM or oz, finish, and the width if it matters to your cost.
- Thread: type and ticket, plus whether it must match or contrast.
- Trims: buttons (size in ligne, material), zips (brand, length, type), elastic (width, type), drawcords, rivets.
- Labels: main, care, size, and any origin or compliance labelling your market requires.
- Colour: Pantone TCX or TPG references, not screen colours and not colour names.
“Nice quality cotton” is not a specification. “180 GSM single jersey, 100% combed cotton, 30/1, bio-washed” is.
4. Construction notes
How the garment is assembled: seam types, stitch density, whether seams are overlocked, flatlocked, coverstitched or bound. Hem depths. Interlining where it applies. Whether the neck tape is self-fabric or purchased.
This is also where you record what you do not want. If a previous supplier gave you twisted side seams, say so and specify the fix.
5. Artwork and placement
Print and embroidery files in vector format wherever possible, with placement measured from a fixed reference point, usually the high point of the shoulder or the centre front neck. “Chest print, centred” will come back centred on a different part of the chest than you pictured.
Specify the print method too. A design that works as a water-based print may look wrong in plastisol, and the hand-feel difference is significant on a soft jersey.
6. Packing and labelling
The section buyers forget until the goods are on the water. Polybag or not, and what material. Folded or hanging. Size stickers and where they go. Barcodes and which symbology. Cartons: dimensions, how many pieces, solid or ratio packed, and how the carton is marked.
Getting this wrong does not ruin a garment, but it can add days at your distribution centre and occasionally triggers a chargeback from a retail customer.
What actually slows you down
- Silence. Any field left blank becomes someone else’s decision.
- Contradiction. A measurement chart that disagrees with the sketch forces the factory to guess which one you meant.
- Screen colours. Without a Pantone reference, lab dips take extra rounds and everyone gets frustrated.
- Late changes. Changing fabric after lab dips are approved resets the colour process completely.
- Approving verbally. If it is not written, it did not happen. Approve in email, every time.
If you do not have a tech pack
Send a reference garment instead. A physical sample plus a clear list of what to keep and what to change is often faster and more accurate than a half-finished document. We measure the garment, build the tech pack, and send it back to you for approval before anything is cut.